
Welcome to PAXAFE! This article will introduce you to creating your first shipment with CONTXT.
Creating and tracking shipments are the first way to bring visibility to your supply chain. This guide will teach you how to create shipments in CONTXT.
Create a shipment with TRAK-NXT or TRAK-X1:
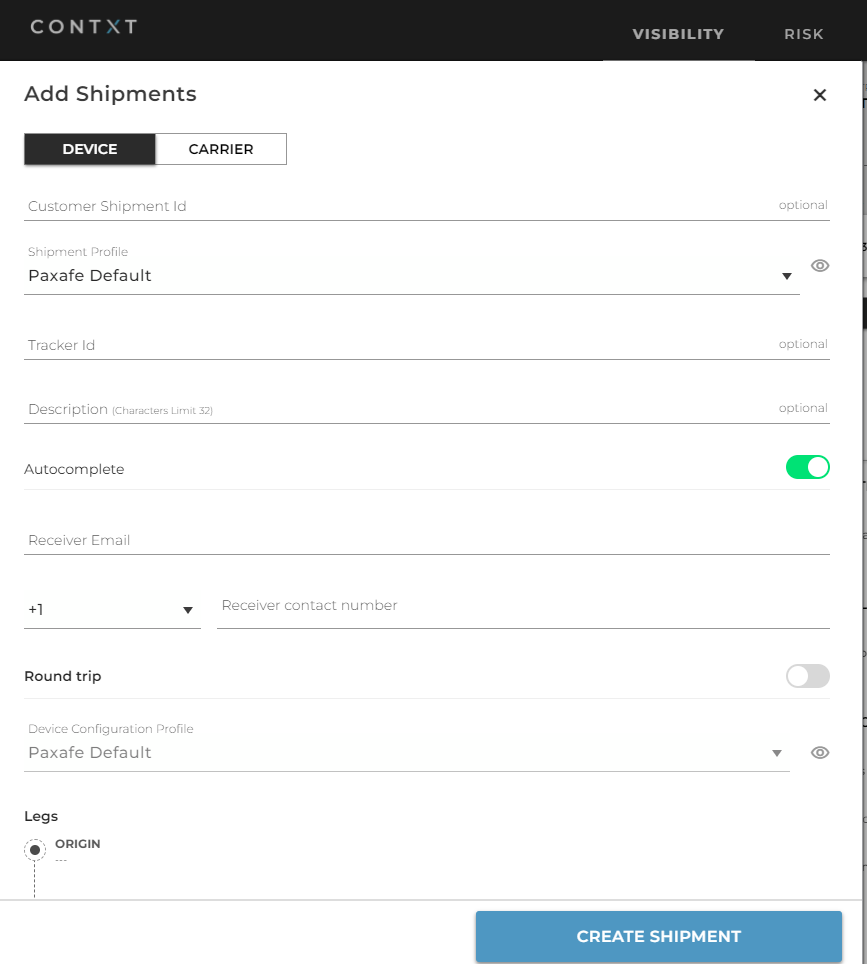
To create a shipment directly in the CONTXT via web browser, simply navigate to Add Shipment under the main navigation bar.
There are shipment details to enter.
- Customer Shipment ID (optional)
- Shipment Profile
- Tracker ID
- Description (optional)
- Destination
- Recipient Email
- Recipient Mobile Number
- Auto Complete toggle
It is recommended to enter the Tracker ID at the time of shipment creation, however, if left blank the shipment will be created into the inventory status.

Once completed, press Create Shipment. For this shipment to begin, you will need to hold the button on TRAK-NXT or TRAK-X1 for 4 seconds. The device will activate and the shipment is ready to begin.
The TRAK-NXT LED behavior is as below after holding button press for 4 seconds:
 *Note above is speed up 1x
- Customer Shipment ID (optional)
- Shipment Profile
- Tracker ID (optional)
- Description
- Autocomplete toggle
- Receiver Email
- Receiver contact
- Round Trip toggle
- Legs: Origin, Stops, Destination
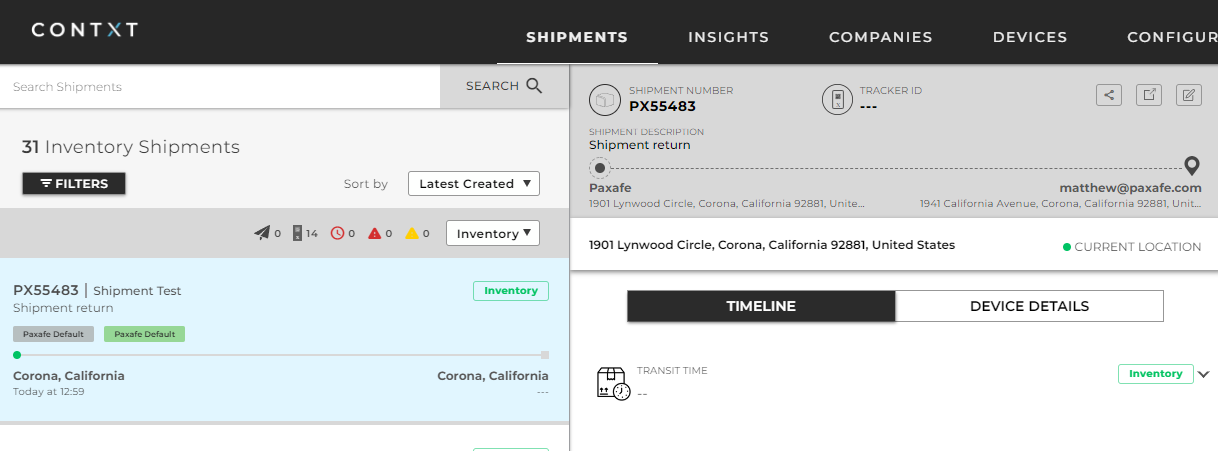
Once completed and press Create Shipment, the page will load into the Inventory page if left without Tracker ID.
Web based Device Shipment with TRAK-X1:
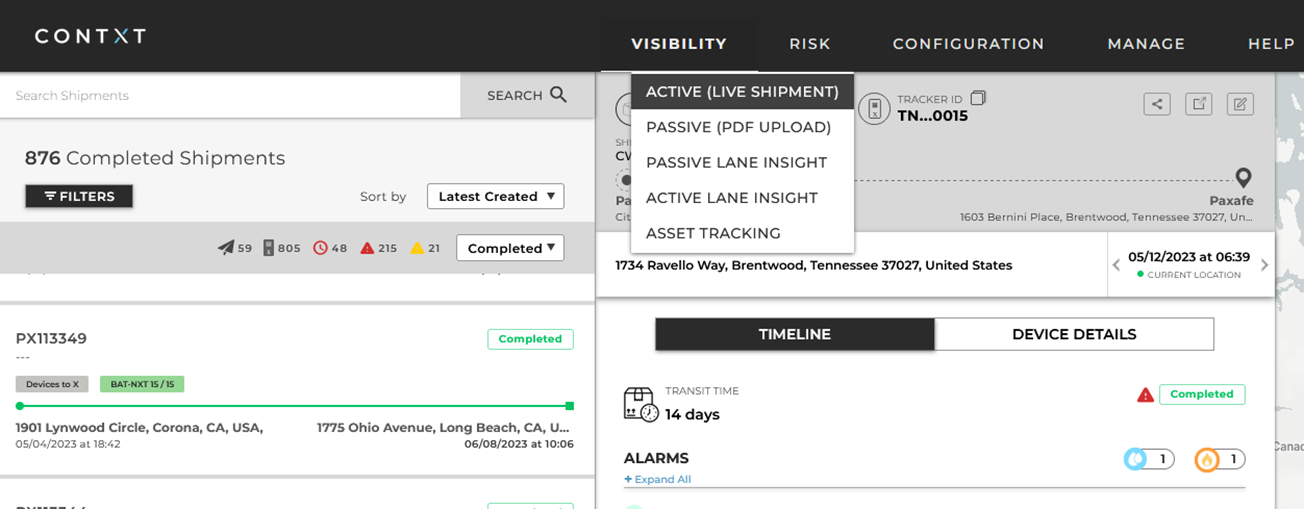
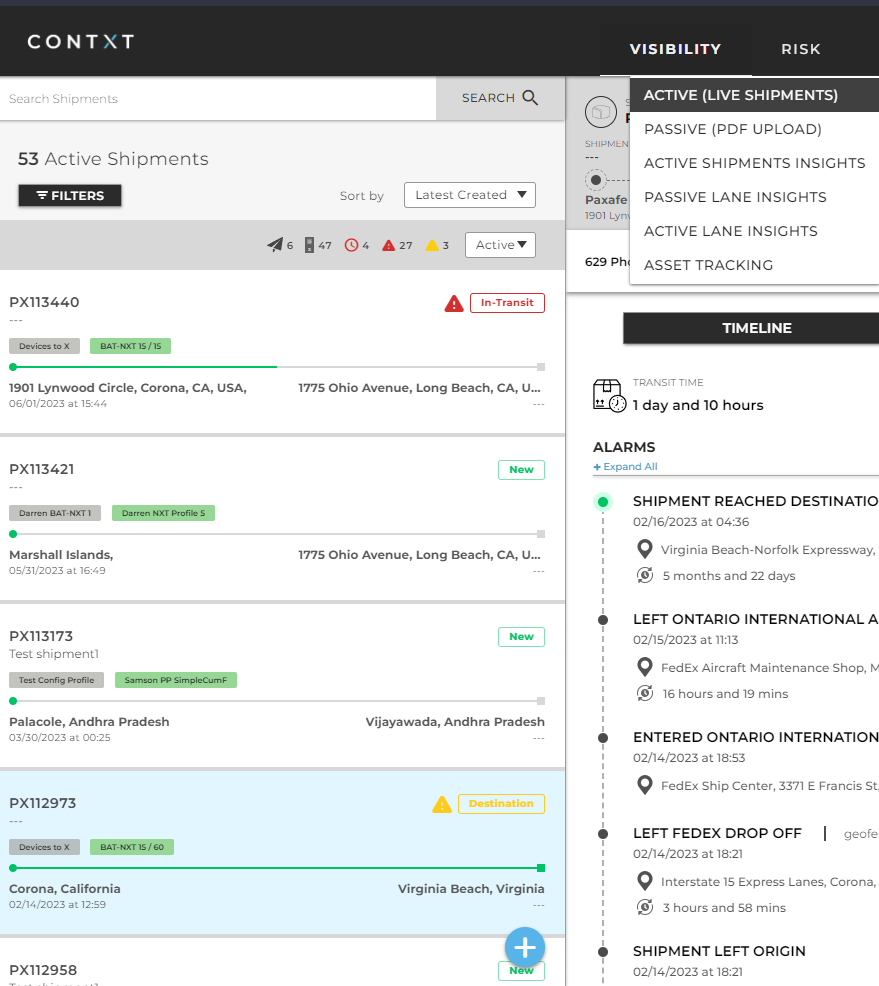
To create a shipment directly in the CONTXT via web browser, simply navigate to ACTIVE (LIVE SHIPMENTS) under the main navigation bar and click the + on the bottom left.
Similar, there are shipment details to enter. With TRAK-X1, it is recommended to include the TRAK-X1 ID at the time of creating the shipment.
Once completed, press Create Shipment. For this shipment to begin, you will need to hold the button on TRAK-X1 for 3 seconds. The device will activate and the shipment is ready to begin.
Below is a storylane walk-through of the process.